Maps
The Map tab of a trip is the map editor. The map is on top; the tabs Tracks, Locations and Preview are below. Tracks are described in Trips.
What can an animated map look like?
Geofoobar can export your trip as an animated video where tracks are drawn over time and locations appear with labels. Examples:


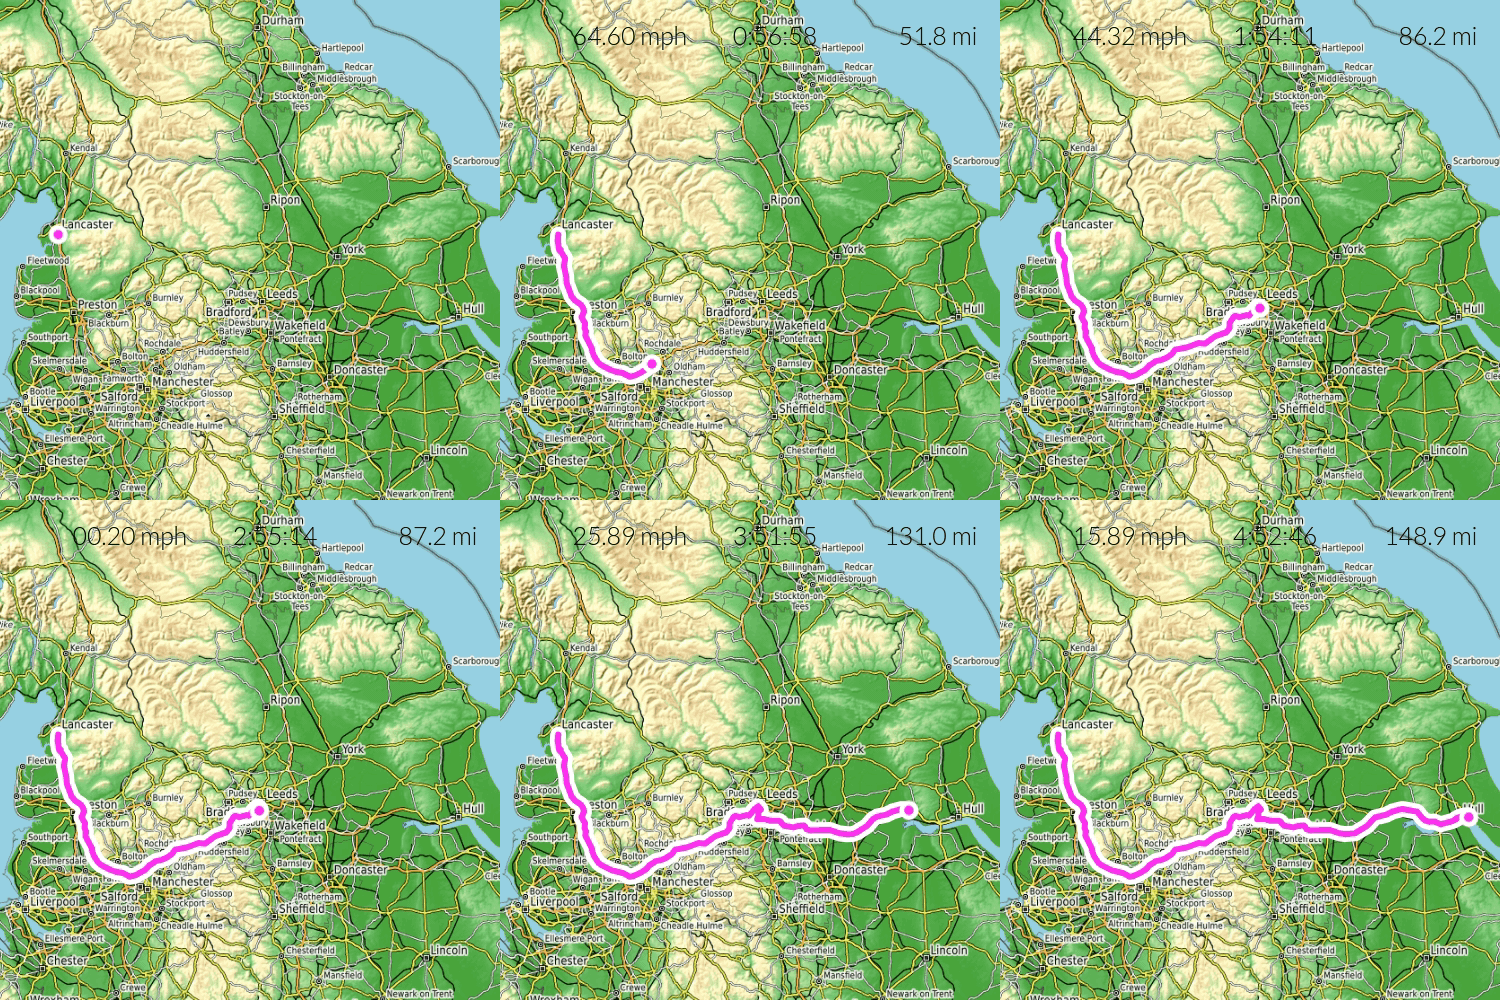


Whether you hike, run, cycle, fly or ride a motorbike or van, you can record it with the Geofoobar mobile app, or import a GPX file, and share the result as a video on Geofoobar, YouTube or other social media.
How do I add and style locations?
Open the Locations tab and press Add location, then click the map. Select a location and press Edit to open Location style:
- Label and Label position (nine positions around the point).
- Symbol - an icon from the picker, with Icon color, Symbol background color & size, and Outline color & width.
- Font color & size, Font outline color & width and Font family (20 fonts).
- Show label plate and Plate color to make labels easier to read.
- Wait time (s) - how long the animation pauses at the location.
To style many locations at once, select them and press Apply style to selected. Delete selected removes them. The number of locations per trip depends on your plan.
How do I style tracks?
On the Tracks tab select a track and press Edit to open Track style: Line color & width, Casing color & width, Pattern (Solid or Dotted), an optional Symbol that travels with the track, and a label with its own font, plate and colors.
How do I pick icons?
In a style dialog press Pick icon. The Select Icon dialog has a Search icons... box and groups such as Transport and Points of Interest.
How do saved styles work?
Styles let you reuse looks across trips.
- In a track or location style dialog press Save style; in the Preview tab use Save settings to style and Apply style.
- Choose an existing style and Save to selected style, or create a New style with a name (up to 50 characters).
- The style marked Default is applied to new trips, tracks and locations.
- You can delete a style; when only one remains, deleting becomes Reset style.
How do I preview and export a video?
Open the Preview tab ("Preview & Render"):
- Press play to Preview animation; drag the slider to scrub.
- Adjust options (below) and press Save settings so they are remembered.
- Press Save as video to render an MP4 on the server, or Save as image for a PNG of the current frame.
- Rendered files appear in the Media gallery (Processing... until ready) and can be used in stories.
Options in the Preview tab:
| Option | Effect |
|---|---|
| Basemap / Basemap opacity | Background map (16 basemaps; only Basic on Free) |
| Camera move | Static (fixed view) or Pan with tracks (moving map follows the head of the track; rendering takes longer) |
| Use globe | Animate on a 3D globe |
| Hillshade, Use basemap labels | Terrain shading and map text on or off |
| Use GPS time | Animate at real recorded speed (needs tracks with timestamps) |
| Play all tracks together | Draw all tracks at the same time |
| Show statistics, Distance units, Speed unit | Statistics overlay |
| Hide tracks and locations | Show only the basemap |
| Use logo | Geofoobar logo; always on for Free |
| FPS, Duration (s) | Frames per second (1-60) and length (1-30 s) within your plan limits |
| Resolution | Choose a size; some need Personal; Custom lets you set Width (px) and Height (px) |
If location wait times do not fit the duration, the duration is raised or the waits are shortened proportionally.
Which basemaps are available?
Basic (free), Vintage, Topographic, White, Gray, Dark, Black, Spring, Summer, Autumn, Winter, and the plain colour screens Green, Blue, White, Black and Gray (useful for video compositing). All except Basic need the Personal plan.